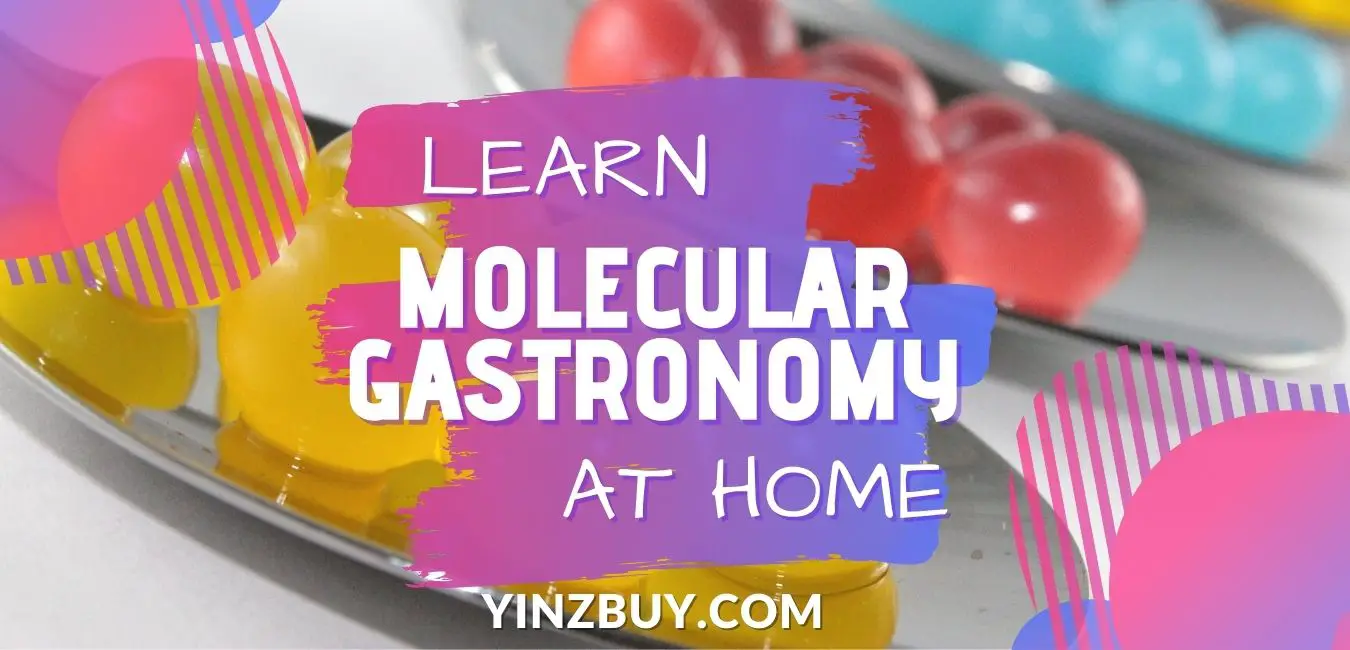
How to Learn Molecular Gastronomy at Home – Beginner Guide
[vc_row equal_height=”yes”][vc_column][vc_row_inner][vc_column_inner width=”1/6″][vc_facebook type=”button_count”][/vc_column_inner][vc_column_inner width=”1/6″][vc_tweetmeme share_via=”YinzBuy”][/vc_column_inner][vc_column_inner width=”1/6″ css=”.vc_custom_1606731990680{margin-top: -5px !important;}”][vc_pinterest][/vc_column_inner][vc_column_inner width=”1/2″][/vc_column_inner][/vc_row_inner][vc_row_inner][vc_column_inner][vc_column_text]
If you’ve ever wanted to learn how to do molecular gastronomy at home, it can seem intimidating at first glance. But don’t worry! With a few tools, you can sculpt food like a pro from your own kitchen. Our guide will walk you through techniques and tools to help you learn five different popular molecular gastronomy techniques at home.
As noted on our Affiliate Disclaimer page, links to products inside this blog could lead to sales commissions (at no additional cost to you) which allow this site to continue operations.
[/vc_column_text][vc_column_text]
[/vc_column_text][/vc_column_inner][/vc_row_inner][vc_row_inner equal_height=”yes” el_class=”drbshd” css=”.vc_custom_1585733347272{margin-bottom: 3% !important;padding-right: 2% !important;padding-left: 2% !important;}”][vc_column_inner][vc_column_text css_animation=”bottom-to-top”]
What is Molecular Gastronomy?
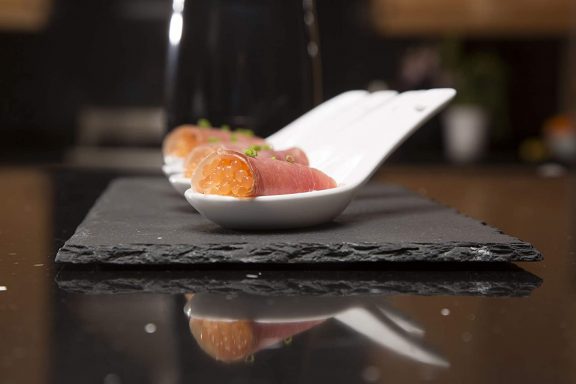
Molecular gastronomy is basically the intersection of food and science. You mother may have told you to never play with your food, but we disagree! Molecular gastronomy uses techniques, tools, and additives to help you present your food in a new and exciting way. Create a caviar look-alike from blueberry juice to top your goat cheese and crackers for an impressive appetizer display. You could also create a giant sphere of soup that’s self-contained and sits neatly on a spoon. Or, smoke your beer. That’s right, you can use molecular gastronomy to add a new depth of flavor and aromatics to your favorite brews.
You can even make a Molecular Mojito at home with an easy starter’s kit![/vc_column_text][/vc_column_inner][/vc_row_inner][vc_row_inner equal_height=”yes” el_class=”drbshd” css=”.vc_custom_1585733347272{margin-bottom: 3% !important;padding-right: 2% !important;padding-left: 2% !important;}”][vc_column_inner][vc_column_text css_animation=”bottom-to-top”]
How Can I Learn to Do Molecular Gastronomy at Home?
Learning to create molecular gastronomy at home isn’t as intimidating as it looks. First, you’ll decide what type of technique you want to employ. Next, you’ll gather the appropriate tools and supplies you’ll need to create your masterpiece. Then, you simply get to work creating your culinary art. Finally, you sit back, enjoy your impressive results, and dazzle your friends and family.
[/vc_column_text][/vc_column_inner][/vc_row_inner][vc_row_inner equal_height=”yes” el_class=”drbshd” css=”.vc_custom_1585733347272{margin-bottom: 3% !important;padding-right: 2% !important;padding-left: 2% !important;}”][vc_column_inner][vc_column_text css_animation=”bottom-to-top”]
Learn the Molecular Gastronomy of Emulsification at Home
The process of emulsification takes two foods that normally wouldn’t go together due to their hydrophobic and hydrophilic properties (think, oil and water) and forces them together into something new. Common table condiments such as mayonnaise or vinaigrette are nothing more than a basic emulsion. But, if you take some more creative ingredients, you can create some pretty unique emulsions.
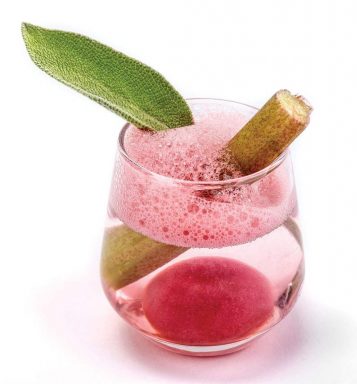
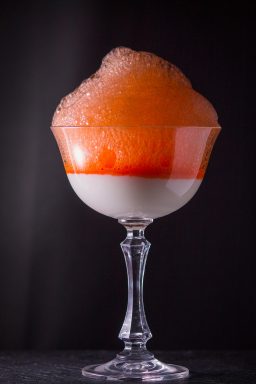
So, what types of things can you create with emulsion? If you want to turn any dish garnish into a “foam” form, then use the emulsion technique. For an appetizer, you could create a balsamic foam for your bruschetta. For the main course, how about a soy sauce foam for your elegant sushi spread? Top off your guest’s ice cream bowls with a strawberry foam for dessert! Convert anything that starts as a liquid into a fun foam creation.
Preparation
Emulsification is an easy molecular gastronomy technique to learn at home, and we’ll walk you through how. All it takes is a few simple supplies. The first thing you’ll need is your chosen food that you’d like to emulsify. If you’re using berries or herbs, make sure to pulverize them into liquid first. A blender or food processor, which you probably already have in your kitchen, works well for this step.
Guide: Tools & Process
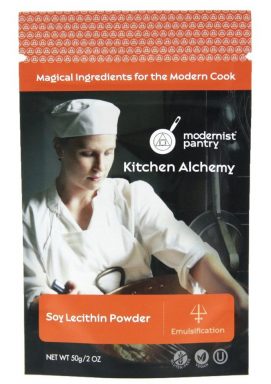
Once preparation is done, you’ll need to grab some soy lecithin powder, which is for the “science” part – it serves as your emulsifier. Don’t worry, it’s derived from soybeans, so it’s completely food safe, gluten free, and vegan! Mix the soy lecithin powder in with your liquid, starting with a 25% to 100% ratio – so if you have 4 ounces of liquid, start with 1 ounce of soy lecithin. As you stir, it should dissolve completely. Also of note, it won’t change the color of your liquid.
When it’s fully dissolved, it’s time to stir things up! If you use a whisk, your arm will probably tire out quickly. To make life easier, use a milk frother to lend a helping hand. As an added bonus, you can froth milk for your morning latte with it too – win win!
Presentation
Once you’ve achieved the beautiful foam emulsification, you can use a spoon or spatula to gently top your desired dishes.
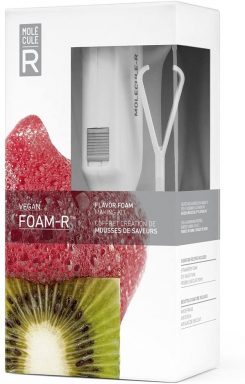
Hot Tip: Starter kits are available as a complete set and come with all the supplies you need plus recipes. We think this is a great way to grab everything you need at once!
[/vc_column_text][/vc_column_inner][/vc_row_inner][vc_row_inner equal_height=”yes” el_class=”drbshd” css=”.vc_custom_1585733347272{margin-bottom: 3% !important;padding-right: 2% !important;padding-left: 2% !important;}”][vc_column_inner][vc_column_text css_animation=”bottom-to-top”]
Learn the Molecular Gastronomy of Gelification at Home
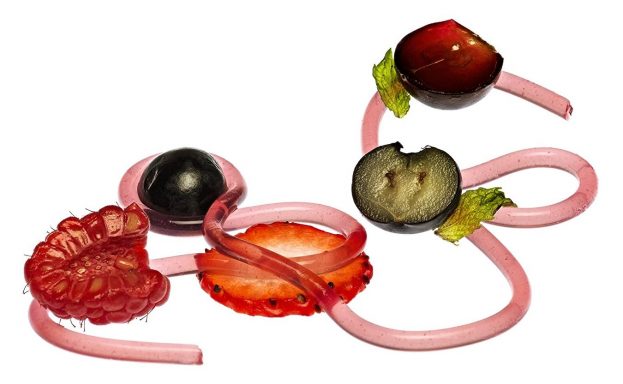
Gelification is a molecular gastronomy technique in which you turn liquids or liquified foods into gel. While that might sound weird at first, you can shape this gel into other unique food accents. For example, you could gelify some soup and serve them like orbs on a spoon for an impressive appetizer. Or, use gelification to turn strawberries into spaghetti for a unique play on dessert!
Preparation
Like emulsification, gelification is another easy type of molecular gastronomy that you can learn how to do at home. First, pick which food you’d like to gelify. This can be a liquid, or any food that you can liquify. Just like emulsification, if it isn’t already a liquid, a trip through your blender or food processor should get you ready.
Guide: Tools & Process
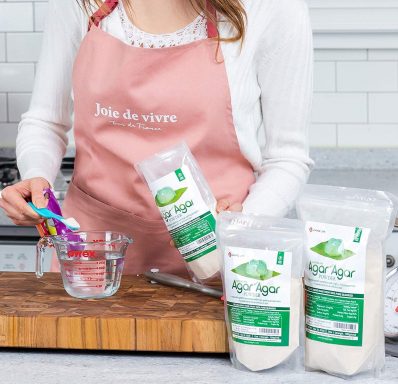 Now, you’ll need an additive which turns your food into the desired gel state – more science! This effect can be achieved with standard gelatin powder, but many people prefer plant-based powders over this collagen-based one. The other two most popular gel additives are Agar Agar powder and Carrageenan, both of which are vegan friendly!
Start with 1 tsp of powder to 1 cup of your liquified foods as a little goes a long way! As with gelatin (if you’ve ever made Jell-O at home), it will only set once it’s cooled after being boiled. Agar Agar, however, stays in its solidified form back up to about 185 degrees Fahrenheit, meaning you’d have to try hard to re-melt it. This makes it a great agent for making gummy spinach spaghetti that will hold up to the heat of your sauce!
Presentation
Once you’ve cooked in your gelling agent, you’re ready to transfer the mixture to your desired molds. Silicone is one of the best choices for molds, as it comes in a huge variety of shapes and sizes, is nonstick, and is very flexible with temperature changes. For instance, if you were making soup domes, you could use a chocolate mold to generate perfect half round shapes. You’re certainly not limited to that size or shape, as there are tons of great mold options available!
![]()
If you wanted to make gel spaghetti, you would use a food safe syringe paired with silicone tubing. Make sure your tubing diameter will accommodate the size of your syringe tip, then simply pipe your gel into the tube with the syringe and let cool. Once cooled, you can use the now-empty syringe to force the gel out, by pushing air or a little clear water into one end of the tube. The result is beautiful gel spaghetti!
Hot Tip: If you want to get everything to make gel noodles at home all in one place, you can grab a molecular gastronomy gelification starter kit. This comes with everything you need aside from the juice, a pair of scissors, and a kitchen scale which you might have at home already.
[/vc_column_text][/vc_column_inner][/vc_row_inner][vc_row_inner equal_height=”yes” el_class=”drbshd” css=”.vc_custom_1585733347272{margin-bottom: 3% !important;padding-right: 2% !important;padding-left: 2% !important;}”][vc_column_inner][vc_column_text css_animation=”bottom-to-top”]
Learn the Molecular Gastronomy of Converting Liquids into Powder at Home
Converting liquids into powder is another fun molecular gastronomy technique you can learn how to do at home. This process is not to be confused with dehydration, which removes moisture from foods to preserve them. Instead, you will actually convert high-fat liquids into a powder form, making an excellent garnish!
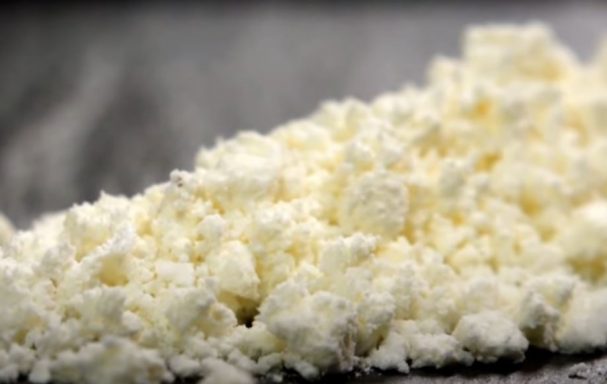
You can take spreadable, high fat foods, such as caramel, peanut butter, bacon, or even Nutella and turn them into a sprinkle of powder. Garnish your appetizers, main dishes, and desserts alike with a touch of powdered deliciousness. Best of all, when you put it in your mouth, it reverts back to its normal texture. Peanut butter that’s only sticky in your mouth and not on your fingers, clothes, face, or anywhere else sounds great!
Preparation
Decide what you’d like to make into powder and grab a container of it, no additional preparation necessary.
Guide: Tools & Process
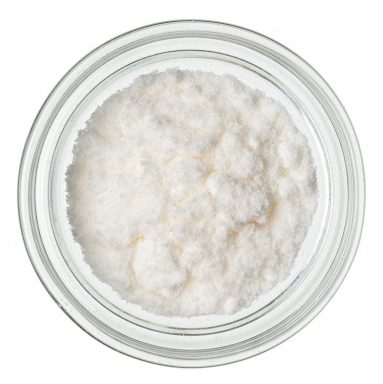
For the science part, you’ll need some Maltodextrin powder, which is derived from tapioca. This makes it vegan approved as well!
Begin mixing the Maltodextrin in with your chosen food, stirring with a fork, spoon, or a whisk. If you’ve ever made gravy before, it will start to look like a roux – the paste-like base of a gravy. Once it begins to reach that paste-like consistency, keep adding Maltodextrin slowly, working it in completely, until it eventually turns to a powder. Generally speaking, it should be approximately 45 – 60% ratio by weight of Maltodextrin to fat to achieve the powdered state.
Presentation
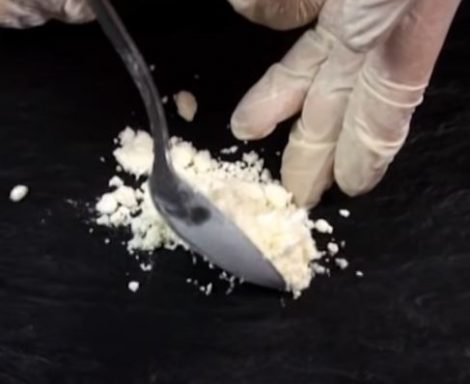
That’s it! You can garnish your dishes with your fingers or by spoon with your newly powdered food, making for a fun presentation.
Fun Fact: Maltodextrin is also commonly used in shakes for athletes. It’s a complex carbohydrate that’s quickly absorbed. It’s also a sweetening agent used as an alternative to sugar. Maltodextrin still ranks high on the glycemic index so it’s not a diabetic substitute, but it absorbs better than traditional sugars during a workout. If you enjoy a workout shake in addition to perfecting your molecular gastronomy at home, you can buy Maltodextrin in bulk and enjoy it for multiple purposes.
[/vc_column_text][/vc_column_inner][/vc_row_inner][vc_row_inner equal_height=”yes” el_class=”drbshd” css=”.vc_custom_1585733347272{margin-bottom: 3% !important;padding-right: 2% !important;padding-left: 2% !important;}”][vc_column_inner][vc_column_text css_animation=”bottom-to-top”]
Learn the Molecular Gastronomy of Smoking at Home
Don’t worry, we’re not talking about teaching your food to pick up a pack of smokes. Smoking in the world of molecular gastronomy means adding smoke to your food or beverages, both literally and figuratively. If you’re the type of person that can’t get enough of that fresh off the backyard barbecue flavor, then you’re going to love learning how to use the molecular gastronomy of smoking at home.
Smoking your foods adds an extra depth of flavor, and adds to an impressive presentation. If you’ve ever tried a beer brewed with smoke and enjoyed it, imagine being able to add that delightful smokiness to another of your favorite brews. Smoke your homemade barbecue sauce for that delicious aroma and flavor, and never worry about that artificial smoke flavoring again. You can even smoke your meats! It won’t be quite the same as cooking it for 12 hours in a professional meat smoker but it will take far less time and attention!
Preparation
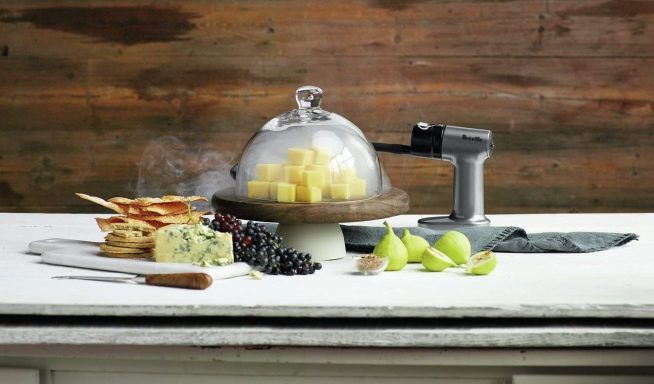
Once you’ve decided what you want to add delicious smoky flavor to, there’s only a few other things you’ll need. First, you’ll need a smoking gun, as this is the main tool you’ll need to perform this molecular gastronomy at home. Next, load the smoking gun’s chamber with wood chips. There are many different varieties that impart unique flavors, so you can experiment to find your favorites!
Guide: Tools & Process
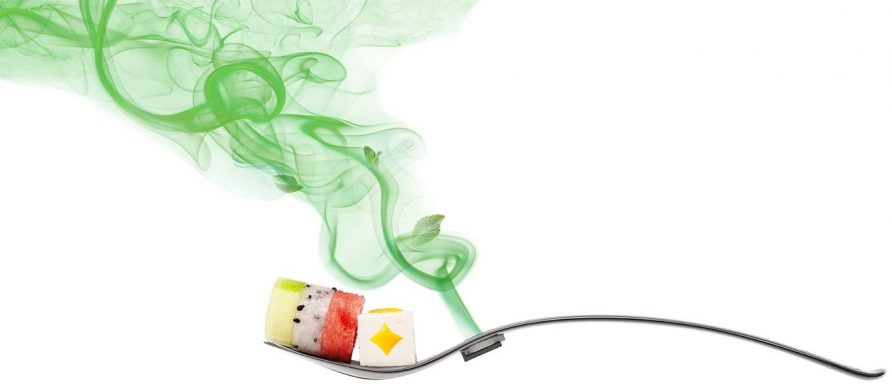
Once you have everything you need, you’ll ignite your chosen wood chips in the smoker. As they burn down, your smoking gun will filter and cool the smoke, passing it through a tube. The tube is placed in the same vessel as the food you wish to smoke. For instance, place your beer in a glass, feed the tube into the air space at the top of the glass, and cover it with stretch wrap to seal it in. You can smoke cheese or desserts on a platter underneath a cake dome. Place meat in a glass baking dish, feed the tube in, and secure with plastic wrap. If you don’t have a dome, you can always grab a cocktail smoking gun that comes with one to make life easier.
Presentation
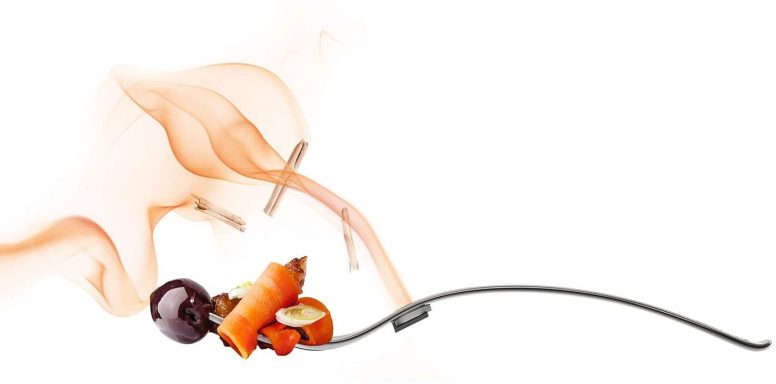
In just a few minutes’ time, your dish is cold smoked and ready to go. Remove the tube and turn the smoker off. Then, remove the dome with a dramatic flourish to impress your guests. Once the proverbial smoke settles, you’ll be able to enjoy a deliciously infused dish.
More Fun: If you’re interested in the ways that smells and tastes play together with food, you can go beyond just smoking. Aroma kits help you explore the way that smells affect your palette in different ways. This can be a fun next step once you’ve mastered the molecular gastronomy of how to smoke foods at home.
[/vc_column_text][/vc_column_inner][/vc_row_inner][vc_row_inner equal_height=”yes” el_class=”drbshd” css=”.vc_custom_1585733347272{margin-bottom: 3% !important;padding-right: 2% !important;padding-left: 2% !important;}”][vc_column_inner][vc_column_text css_animation=”bottom-to-top”]
Learn the Molecular Gastronomy of Spherification at Home
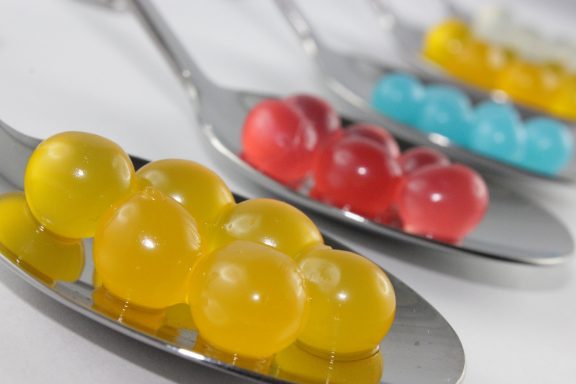
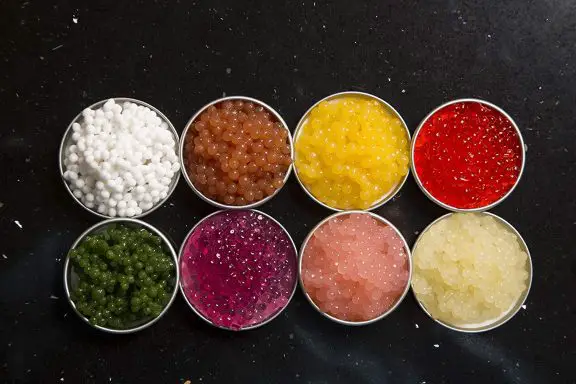
Spherification is an incredibly popular molecular gastronomy technique that you’ll be pleased to learn is simple to recreate at home. With this process, you create soft, squishy spheres of various sizes that “pop” to release a burst of flavor! If you’ve ever had popping boba bubbles in a drink or a meal, then you’ve already experienced spherification at work.
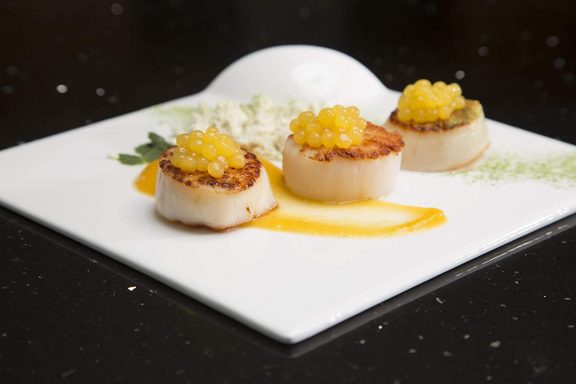
You can use the spherification technique to make liquids into your desired shape and size spheres. Top your ice cream with some strawberry popping bubbles, or make some mango “caviar” to top a delicious seared scallop. You can even make your own yuzu pearls, a popular soy and lemon combination sauce that’s delicious on fish!
Preparation
Once you’ve decided what you want to spherify, make sure it’s prepared and ready. If it’s not a liquid, make it a liquid with the help of your blender or food processor again. Make sure you also strain the pulp out to form a sediment-free liquid. A fine-mesh food strainer can be very helpful for this process.
Guide: Tools and Process
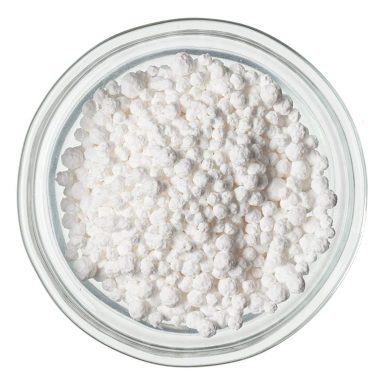
Once preparation is complete, you’ll want to grab some Sodium Alginate and some Calcium Chloride. These two will gel together when combined to hold the desired shape.
It’s important to note that, if you used Agar Agar instead, you can still create the “caviar” shape, but this will be considered gelification. The main difference here is, gelification will just produce a ball with a gelatinous texture throughout. Using Sodium Alginate and Calcium Chloride in spherification will actually produce an outer membrane that contains liquid within. The two processes might result in the same shape, but the texture and effects on your mouth will be completely different.
Start by whisking some Sodium Alginate into your prepared liquid. A good place to start is around 1 tsp powder to every 2 cups of liquid. Once it’s dissolved in, it’s time to move your liquid to a dispensing tool. There are a ton of different varieties of tools to help in the spherification process, some of which you may already have at home.
If you’re making small quantities, then a handheld device with more personal control is the way to go. We like a standard food grade squeeze bottle like you’d see for condiments in a diner. You could also try out a plunger or syringe style utensil, and as a bonus here you could use the same equipment for gelification later on!
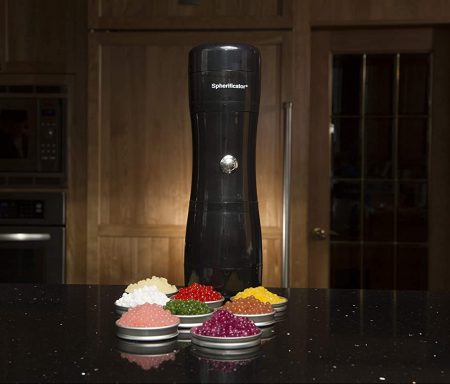
For large quantities, or where you want to make a large batch of very uniform spheres (think caviar) you may require a little more help. A caviar maker box will allow you to pipe into 96 identical spheres at once, saving you a lot of drops by hand. Alternatively, if you need to turn out several hundred, an automatic device like the Spherificator can help. Just plug it in, add your mix, and watch it turn out the spheres!
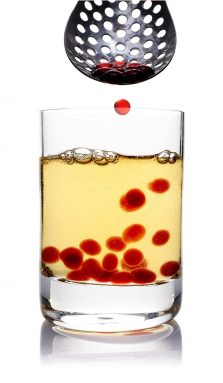
Regardless which method of dispenser you decide to go with, the process is all the same. Add some cold water to a bowl, and then add your Calcium Chloride to it. About ½ tsp per cup of water should get you the needed concentrate. It should wind up being an approximately 0.5% solution of Calcium Carbonate to the water, if you need to scale up or down. Then, using your dispenser of choice, hold it over the bowl and begin to slowly drop spheres into the water. If you’re doing this with a hand utensil, just depress slowly and let drips fall, much like you’re adding food coloring. If you’re using an automatic device, just put the cooling chamber directly in the water, or hold the device above the bowl, as appropriate.
Presentation
The spheres will form instantly on contact with the water, as the two chemicals interact. The spheres will then rest on the bottom of the bowl. Once you are done, you’ll want to drain the water out and collect the spheres. Larger spheres may be able to be fished out with a slotted spoon in the kitchen. Smaller ones may require your fine mesh strainer or a spherification spoon. These devices are designed with smaller openings so you can pour the water through but retain small, caviar-sized pearls.
Once you’ve retrieved your spheres, you simply drain them on paper towels. Then, you’re ready to garnish your food and drinks while showing off your spherification technique!
Hot Tip: Like some of the other techniques, spherification starter kits are available. These kits contain both the ingredients, tools, and some recipes to get you started, in one neat package. If you want to learn the molecular gastronomy of spherification at home, they’re a quick way to get everything you need at once!
[/vc_column_text][/vc_column_inner][/vc_row_inner][vc_row_inner equal_height=”yes” el_class=”drbshd” css=”.vc_custom_1585733347272{margin-bottom: 3% !important;padding-right: 2% !important;padding-left: 2% !important;}”][vc_column_inner][vc_column_text css_animation=”bottom-to-top”]
Additional Notes
We hope you’ve found our guide about how to learn molecular gastronomy at home useful. You can make impressive looking food with just a little effort and some help from basic chemistry! If you’ve been inspired to learn more about molecular gastronomy, or are looking for some other great recipes and ideas to try at home, check out some of these great books:
Molecular Gastronomy at Home by Jozef Youssef
This 240 page hardcover is widely touted as the best in-print resource to learn molecular gastronomy at home. It features step by step guidance and photos for more than 15 different molecular gastronomy techniques. You’ll also find a ton of different recipes to inspire you to create molecular gastronomy masterpieces!
Molecular Gastronomy: Scientific Cuisine Demystified by Jose Sanchez
This 320 page book is available in hardcover and Kindle editions, and is another great resource for learning molecular gastronomy at home. This book goes into the science and the ingredients, providing step by step guidance and techniques. It will help you understand the basis of techniques and ingredients for you to be inspired to create your own molecular gastronomy at home.
Craft Cocktails at Home by Kevin Lui
While not a molecular gastronomy book in and of itself, this 254 page paperback is still a great foray into the world of molecular gastronomy in cocktails. There are 65 recipes included in the book, and they’re backed by the wonders of science! You’ll see the molecular gastronomy techniques of smoking, sous vide, and cryo freezing come into play on the pages. It’s perfect for beginners and professional mixologists alike, and is the perfect crossover for the molecular gastronome that wants to try their hand at cocktails.[/vc_column_text][/vc_column_inner][/vc_row_inner][/vc_column][/vc_row][vc_row][vc_column][vc_column_text css_animation=”bottom-to-top”]


 Amazon.com


